Knowledge
How to mount the metal push button switch?
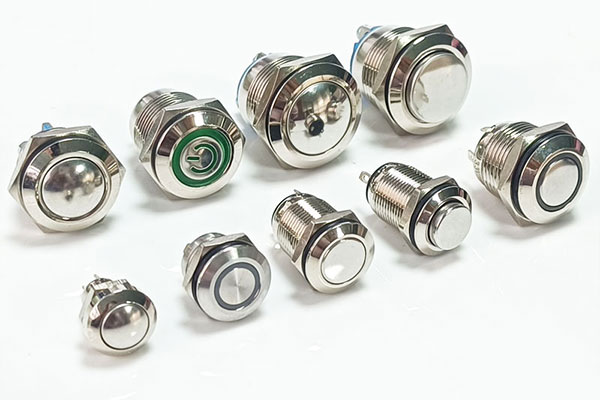
Mounting a metal pushbutton switch is a critical part of its installation process, ensuring it is securely placed and functions correctly. Here's a detailed guide on how to mount a metal pushbutton switch, covering the tools required, steps involved, and safety precautions.

Tools and Materials Needed
1. Metal pushbutton switch
2. Drill and appropriate drill bit
3. Screwdriver
4. Marker or pencil
5. Measuring tape or ruler
6. Deburring tool or file
7. Wrench or pliers (if needed for the mounting nut)
8. Protective gear (safety glasses, gloves)
Steps to Mount the Metal Pushbutton Switch
1. Choose the Mounting Location
Select a suitable location on the panel or enclosure where you want to install the switch. Ensure the area is easily accessible and provides enough space for both the switch and wiring.
2. Mark the Drill Hole
Measure and Center: Use a measuring tape or ruler to find the exact center of the location where the switch will be mounted. Mark this spot with a marker or pencil.
Verify Placement: Double-check the marked spot to ensure it aligns with your design and doesn’t interfere with other components or wiring.
3. Drill the Hole
Select Drill Bit: Choose a drill bit that matches the diameter of the switch’s mounting thread. The correct size is typically specified in the switch’s datasheet or manual.
Drill the Hole: Carefully drill the hole at the marked spot. Ensure the drill is perpendicular to the panel to create a clean and straight hole.
Deburr the Hole: Use a deburring tool or file to remove any burrs or sharp edges from the drilled hole. This ensures a smooth surface for mounting the switch.
4. Mount the Switch
Insert the Switch: Place the switch into the drilled hole from the front side of the panel. Ensure it fits snugly and the front face is flush with the panel surface.
Secure the Switch: Depending on the switch design, you will typically have a nut or screws to secure it in place:
Nut Secured Switch: If your switch has a threaded body with a nut, thread the nut onto the switch from the backside of the panel. Use a wrench or pliers to tighten the nut. Be careful not to overtighten, as this could damage the switch or the panel.
Screw Secured Switch: If your switch comes with screws for mounting, use the appropriate screwdriver to tighten the screws and secure the switch in place.
5. Test the Mounting
Check Stability: Gently press the switch to ensure it is securely mounted and doesn’t move or wobble. It should be firmly in place.
Inspect Alignment: Verify that the switch is correctly aligned and sits flush with the panel surface. Misalignment can affect the switch’s operation and aesthetics.
Safety Precautions
Disconnect Power: Ensure the power is disconnected before drilling or mounting the switch to prevent electrical shock or damage.
Use Protective Gear: Wear safety glasses to protect your eyes from debris while drilling and gloves to protect your hands from sharp edges.
Follow Manufacturer’s Guidelines: Adhere to the specific mounting instructions provided by the switch manufacturer to avoid any damage and ensure proper installation.
Final Checks
Visual Inspection: Perform a final visual inspection to ensure the switch is mounted correctly and securely.
Functional Test: Once the switch is wired, perform a functional test to confirm it operates as expected.
By following these steps, you can effectively mount a metal pushbutton switch, ensuring it is secure, aligned, and ready for wiring and operation. Proper mounting is crucial for the switch's longevity and reliable performance.
RELATED NEWS
- Types of Anti-Vandal Switches 2025-02-28
- Where Are Anti-Vandal Switches Used 2025-02-27
- The tact switch with integrated LED for illumination vision 2025-02-27
- Introduction to LED Tact Switches 2025-02-18
- An Article For Emergency Stop Push Button 2025-02-11
CATEGORIES
LATEST NEWS
CONTACT US
Contact: Bella
Phone: 15999819066
E-mail: rucoe@rucoe.com
Whatsapp:+86-15999819066
Add: Taoyuan Street, Nanshan, Shenzhen
